Do you have a Keurig coffee machine at home? If yes, you would know how important regular cleaning and descaling are for your machine. Over time, coffee residue and minerals from water can build up inside the machine, resulting in the need to descale.
The Keurig descale light indicates the need for maintenance to ensure optimal performance and longevity of the appliance. These lights in Keurig coffee machines remind users when it’s time to clean the machine.
Understanding how to address the descale light when it appears is essential. When the descale light is on, you will need to follow the right steps to clean the machine. Ignoring the light can impair functionality or even damage your precious Keurig.
You can easily descale your Keurig by following the manufacturer’s instructions and using the appropriate descaling solution. Descaling will turn off descale light and ensure a consistent and delicious cup of coffee.
However, a common issue that Keurig coffee machine users face is the appearance of the descale notification light even after they have descaled the coffee machine. This post will go through a quick troubleshooting guide on resolving the issue conveniently. Read on!
What is Descaling, and why is it necessary?
Descaling is an essential process in maintaining the performance and longevity of a Keurig coffee machine.
Minerals such as calcium and magnesium in hard water can form deposits in the coffee machine after a few weeks of constant use. These mineral buildups, also known as scaling, can affect the taste of your coffee while compromising your health.
Moreover, the scale buildup can impair the machine’s ability to heat water and brew efficiently, eventually causing damage to the internal components.
Regular descaling helps remove these mineral deposits. Descaling also ensures that your Keurig operates smoothly and delivers the best-tasting coffee possible without risking your health.
Additionally, descaling can help extend the coffee machine’s life, saving you time and money in the long run.
What Does the Descale Light Indicates?
The descale notification light on a Keurig coffee machine is a warning signal designed to alert you when it’s time to activate descale mode on your machine.
A descale light typically gets activated after 250 brews or three months of use, whichever comes first.
The descale light remains on until you descale your coffee brewer to remove the buildup and residue.
When the descale light comes on, it is essential to address the issue as soon as possible. Ignoring it can lead to poor coffee quality, reduced efficiency, and potential damage to your Keurig coffee maker.
To reset the descale light, follow the steps below:
Unplug your Keurig from the power outlet.
Empty the water reservoir and remove the water filter, if applicable.
Fill the water reservoir with a Keurig descaling solution, following the instructions for your specific descaling product.
Turn the machine on and place a cup under the coffee outlet.
Run the descaling solution through the coffee machine by starting a brew cycle.
Once the coffee machine runs out of the descaling solution, it will stop automatically.
Discard the contents of the cup into a sink.
Refill the reservoir with fresh water and run several rinse cycles to flush out any remaining Keurig descaling solution.
Tip
You can also use white vinegar if you don’t have a store-bought descaling solution. Mix one part of water with vinegar to descale your coffee maker.
Prepare Your Keurig Coffee Machine For Descaling
What you read above was a quick tour of how to descale your Keurig machine. However, that’s not it. The full descale process involves much more than that, like thoroughly preparing your Keurig machine for descaling.
Before beginning the descaling process, gathering the necessary supplies and preparing the coffee machine for descaling is essential. Here’s a short guide on how to do that:
Gather All Descaling Supplies
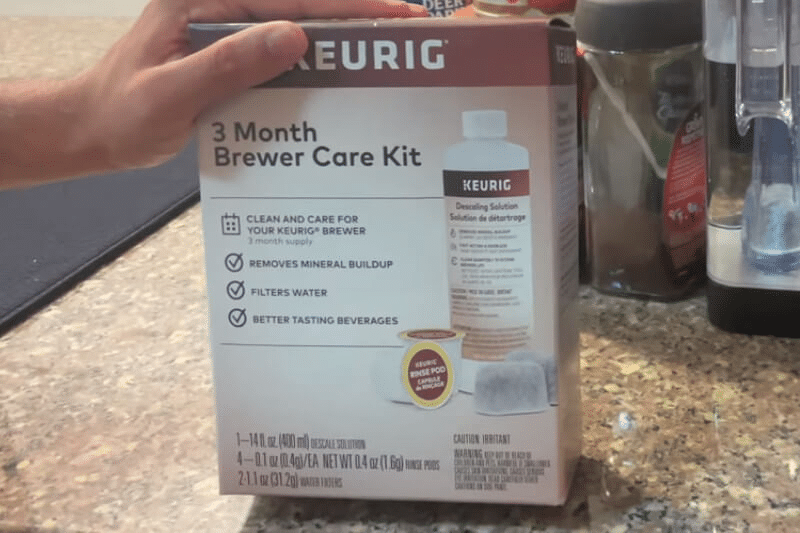
Keurig Descaling solution
You can use a commercial descaling solution designed specifically for Keurig coffee makers or a homemade descale solution.
White vinegar (optional)
If you don’t have a store-bought descaling solution, you will need white vinegar to prepare one at home. A white vinegar and water mixture is an affordable and effective option for removing mineral buildup.
A large mug
Use a large mug, coffee cup or container to collect the solution during the descaling process.
Water
Fresh, filtered water should be on hand for both the descaling process and to rinse the machine afterward.
Paper clip (optional)
You can use a paper clip to clean the needles of the pod holder.
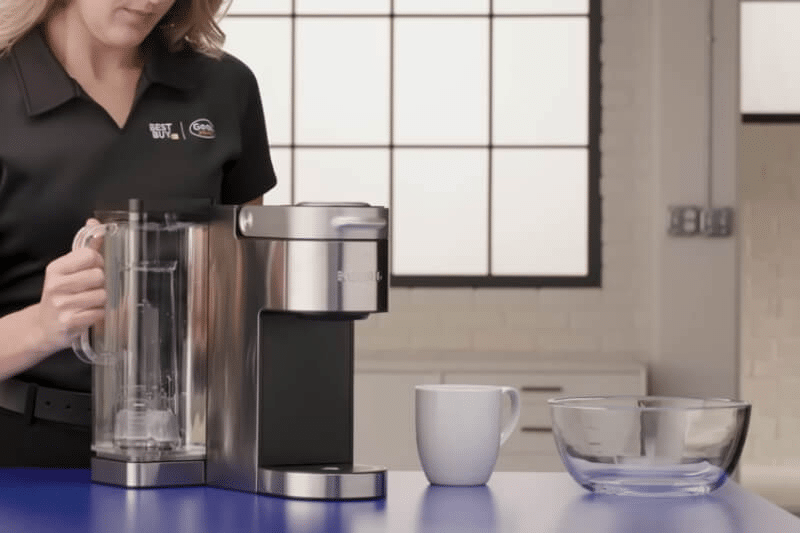
Clean the Drip Tray and Water Reservoir
Before starting the descaling process, you should clean the removable parts. Here is how to do it:
Turn off the coffee machine and unplug it.
Remove the water reservoir and drip tray.
Discard the contents from the drip tray and the water tank.
Remove the water filter from the inside of the water reservoir. The filter should not be in place while descaling. If the filter cartridge is due for replacement, now would be an ideal time to do so.
Wash the removable parts with soapy water to remove any dirt or residue.
Attach back to the coffee machine once the removable parts are dry.
3. Discard Any Used Coffee Pod
If you have left a coffee pod in the coffee machine after your last brew, you must dispose of it. Eject the used coffee pod from the coffee machine before your start the descaling process.
A Guide To Descaling Your Keurig Coffee Maker
Descaling your Keurig coffee maker takes a few minutes and some easy steps. You can use a Keurig descaling solution or a vinegar-water mix to descale your brewer, as mentioned above.
Here is a detailed step-by-step guide on how to descale your Keurig coffee maker:
Using Keurig Descaling Solution
To descale your Keurig coffee machine using the Keurig Descaling Solution, follow these steps:
Turn off the brewer and ensure there’s no power.
Pour the entire bottle of Keurig Descaling Solution into the empty water reservoir.
Fill the remaining water reservoir with fresh water.
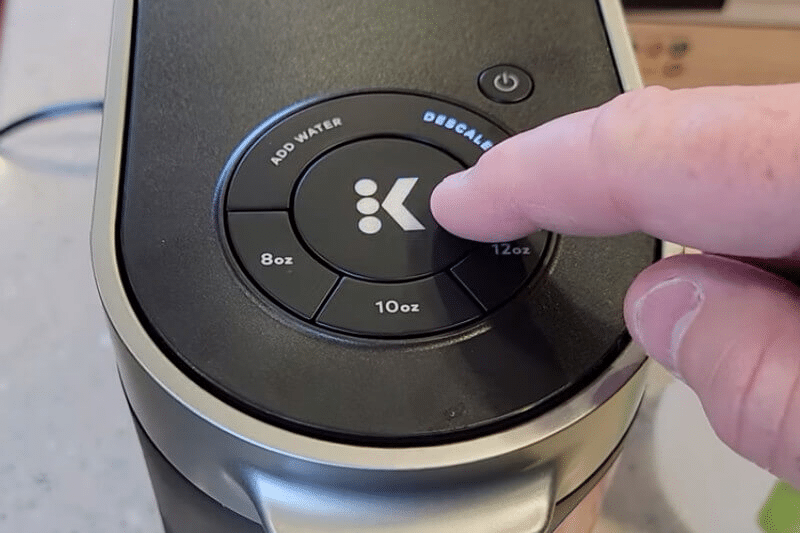
Press the eight and 12-oz buttons for 3 seconds to activate the descaling mode. The coffee machine is in descaling mode when the descale light turns solid.
Press the 12oz button to start descaling.
The coffee brewer will start dispensing water into the cup.
Once the descaling process completes, the coffee machine will stop automatically.
Using White Vinegar Solution
If you prefer a DIY approach, you can use a home-made vinegar-based solution:

Turn on the brewer.
Fill half of the reservoir with white vinegar and the rest with fresh water till max line.
Press the eight and 12-oz buttons for 3 seconds to activate the descaling mode. The Keurig coffee maker is in descaling mode when the descale light turns solid.
Press the 12 oz button to begin descaling.
The coffee brewer will start dispensing water and stop once it runs out.
The vinegar will help dissolve the calcium and mineral buildup inside the coffee machine, improving the taste and functioning of your brewer.
Perform Rinse Cycles
After using either the Keurig Descaling Solution or vinegar-based solution, it’s essential to thoroughly rinse your coffee maker to flush out any residual substances.
Empty the reservoir and wash it.
Fill it with clean, filtered water to the MAX line.
Place a cup on the drip tray and press the brew button to run several rinse cycles without inserting a K-Cup pod.
Repeat the fresh water rinse by refilling the reservoir until no descaling solution or vinegar taste remains.
Following these steps will help maintain your Keurig coffee maker’s performance and ensure a consistently good taste in your coffee.
Remember to descale your Keurig regularly to prevent mineral buildup and improve the machine’s life span.
How to Troubleshoot Keurig Descale Light Won’t Turn Off?
When the descale light on your Keurig turns on, it indicates that the coffee brewer needs descaling. However, the keurig descale light sometimes doesn’t turn off even after descaling.
There can be several reasons your Keurig descale light won’t turn off. By following these troubleshooting tips, you can resolve any issues with the keurig descale light staying on after descaling your Keurig coffee machine.
Let’s look at the quick fixes for Keurig descale light issue:
Method 1: Perform the Descaling Process Correctly
Sometimes not performing the descaling process correctly or stopping it midway can be the cause of this common problem.
When leftover residue and buildup are in the coffee machine, the descale light will turn on to indicate that the coffee maker is still dirty.
You need to remember some tips to ensure the descaling process is successful. Follow these tips when performing descaling on your Keurig machine:

Use the proper descaling Liquid
Use Keurig’s official descaling agent or a suitable alternative, like white vinegar.
Follow the recommended process
Each Keurig model may have specific descaling instructions, so it is essential to follow the guidelines provided by the manufacturer for your particular model.
Empty and clean the water reservoir
After descaling, empty the water reservoir and thoroughly clean it with warm, soapy water to remove any remaining solution.
Rinse thoroughly
Run the cleansing rinse cycle multiple times. The cleansing rinse power of cycles ensure the solution and any loosened debris are completely flushed through the system.
Check the water filter
If your Keurig machine features a replaceable water filter, ensure it is clean and properly installed.
Method 2: Clean the K-Cup Holder and Needles
Clogging is a common issue with any Keurig model, including the Keurig Mini. When brewing performance decreases, it may be due to clogged needles.
Even after regularly using residual descaling solution from the Keurig coffee maker, the entrance and exit needles still have residual substances.
A buildup of ground coffee, grounds, mineral deposits, or scaling may clog the needles. Therefore, cleaning the exit and entrance needles is important to ensure the coffee machine is completely clean.
To clear clogged needles safely, follow these steps:
What you will need
Paper Clip
Water
Method
Turn off the coffee maker and unplug it.
Lift the handle to remove the K-cup holder.
Push up the pod holder from the coffee machine.
Pull on the pod holder sides to remove the funnel.
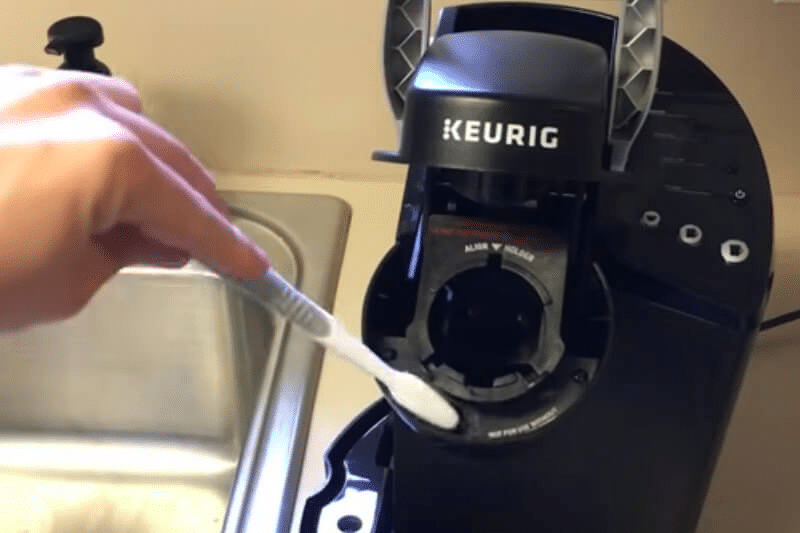
Locate the needle in the pod holder and use a straightened paper clip to clean it.
Insert the paper clip and wiggle it around to loosen the residue.
Rinse the pod holder and the funnel under running water.
Attach the funnel to the pod holder.
Locate the entrance needle in the brewer’s head and clean it using a paper clip.
Attach the pod holder back to the brewer.
Fill the water tank with water, and without inserting a K-cup, run a brew cycle.
Tip
If you have Keurig 2.0, use a Keurig maintenance tool to clean the pod holder and the needles. Here’s how to use it.
Preventative Maintenance and Cleaning Tips for Keurig Coffee Maker
Now that you’ve gone through the descaling and troubleshooting process, it’s time to include additional maintenance and cleaning tips in your routine. Keep reading!
Regular Cleaning of Your Keurig
Regular cleaning of your Keurig machines is an essential part of preventative maintenance. It ensures that your Keurig brewer works efficiently and produces the best-tasting coffee.
To perform regular cleaning, start by emptying the water tank and removing any K-cups or refillable K-cups from the brew basket.
Next, thoroughly rinse the water tank, brew basket, and exit needle with warm, soapy water to remove any built-up coffee grounds or residue. Let all the removable parts dry before attaching them to the coffee machine.
To thoroughly clean the Keurig exit needle, carefully remove any debris or coffee grounds lodged in the needle using a paper clip or needle-maintenance accessory. Rinse the needle under running water to ensure it is clean.
In addition to this regular cleaning, it’s important to periodically run a descaling cycle using a descaling solution or a mixture of white vinegar and water. Regular descaling prevents calcium deposits and other mineral buildups from accumulating inside the coffee machine.
Run several single cup water brew cycles with the descaling solution till the brewer shows the “Add water” message. Lastly, refill the water tank with fresh water to flush out any leftover descaling solution while running a fresh water rinse cycle.
Using Filtered Water for Brewing
Using filtered water in your Keurig can help prevent the buildup of calcium deposits and prolong the time between descaling cycles.
Tap water often contains minerals such as calcium and magnesium, which, over time, can lead to mineral buildup inside the appliance.
By using filtered water, you can reduce the amount of these minerals entering your Keurig and keep the appliance cleaner for longer. Moreover, filtered or bottled water will also benefit your health.

To ensure the best quality water for brewing, replace the water filter in your Keurig as per the manufacturer’s recommendations. It will help maintain the taste and quality of your brewed coffee while minimizing the need for regularly descaling your Keurig coffee machine.
What are the Alternative Descaling Methods for Keurig?
If the above descaling methods don’t sit right with you, here are some alternatives you can consider:
Citric Acid Descaling
Citric acid is an excellent alternative to using Keurig’s descaling solution. Using citric acid as a bottle of keurig descaling” solution is both budget-friendly and effective in removing mineral buildup from your Keurig.
Combine 1-2 tablespoons of citric acid powder with 4 cups of water to descale your coffee maker.
Ensure that the citric acid completely dissolves in water before pouring the solution into the water reservoir of the Keurig.
Begin the descaling process by running the coffee pod machine through the brew cycle without inserting a coffee pod. Repeat the brew cycles until the coffee machine runs out of citric acid solution.
Once the descaling process ends, thoroughly rinse the water reservoir. Refill the emptied water reservoir with fresh water and run several fresh water rinse cycles to remove traces of citric acid.
Descaling with Lemon Juice
Lemon juice has acidic properties that work wonders to remove scale buildup and residue from the coffee maker.
Using lemon juice instead of powdered products is a good idea since it contains about 5% citric acid. You’ll need a 50/50 mixture of lemon juice and water to prepare a descaling solution for your Keurig brewer.
Depending on your water reservoir size, you may need up to 12 lemons.
Once you prepare the descaling solution, add it to the water reservoir of your coffee maker.
Then, run several brew cycles till the coffee machine shows the “Add water” message. Once the coffee machine runs out of the lemon mixture, wash the water reservoir and fill it with fresh water.
Begin fresh water rinse cycles to ensure no lingering lemon solution smell or taste in the brewer.

Considerations for Different Keurig Models
Different Keurig models may have unique descaling requirements and indicator lights. For example, the Keurig Slim Descale light may function differently than other models.
Therefore, referring to your machine’s user manual for specific instructions on descaling and indicator light functions is essential.
Here are some general considerations for descaling various Keurig models:
Classic Keurig models
The Classic Keurig models may require a longer descaling cycle and more frequent descaling, depending on usage and water hardness.
Keurig 2.0 models
Keurig 2.0 models are advanced coffee machines. These coffee machines may include a built-in descaling reminder.
Single-serve model
Descaling a smaller, single-serve Keurig coffee maker requires less cleaning solution and a shorter descaling cycle.
Regular descaling will help extend the lifespan of your coffee machine and ensure that you’re always brewing the best-tasting coffee.
Final Words
Hopefully, this guide helped you troubleshoot Keurig’s descale light issues. To maintain your Keurig machine’s performance and lifespan, you must descale it regularly.
According to Keurig, descale your machine every three to six months, depending on how often you use it and how hard the water is.
The descale light indicates that your coffee machine has dirt and ground coffee residue accumulated in its internal parts. The descale light will automatically turn off when you descale your Keurig machine.
However, if descale light won’t turn off even after descaling, you can use the steps mentioned above to troubleshoot and resolve the problem.
Please contact Keurig’s customer support if the problem with the descale light on Keurig persists. Happy cleaning!